Does it feel like you spend every spare minute attached to a machine? You pump, you wait, and you look down at the collection bottle only to find you haven’t even filled a shot glass.
It is heartbreaking. You worry about your baby thriving. You worry about having to supplement with formula.
I have been there. My early pumping sessions were filled with tears and empty bottles. But I didn’t give up. Instead, I learned the science behind milk production.
I read everything I could find. Soon, I was pumping like a pro and watching my supply skyrocket.
In this guide, I’m sharing the practical tips that saved my breastfeeding journey, along with the exact schedule I used for the first six months.
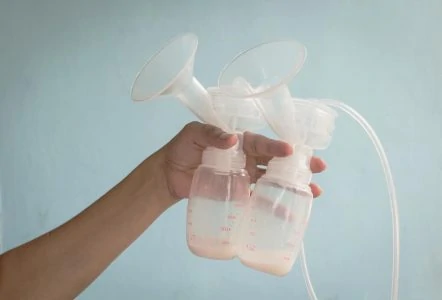
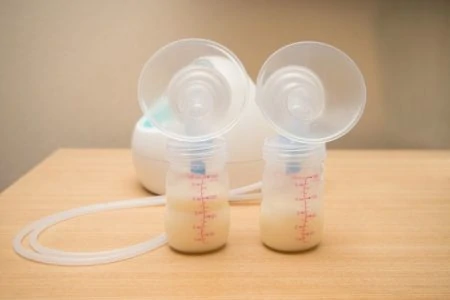
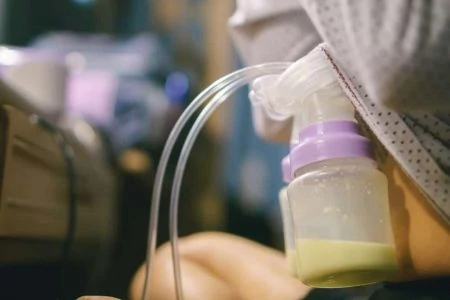
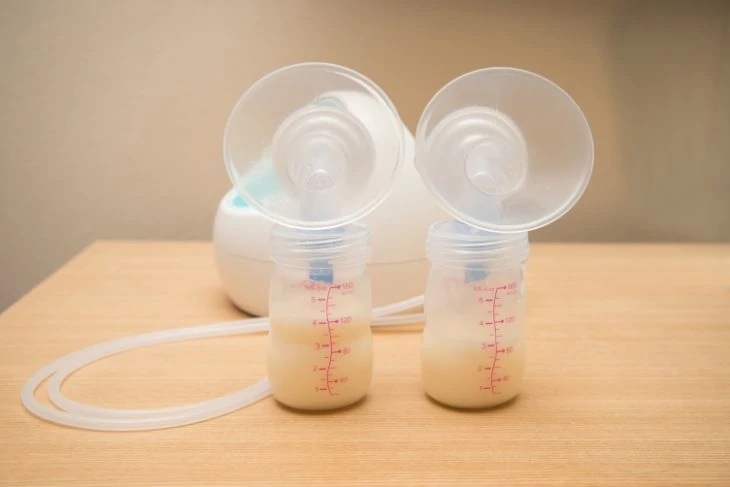
Finding The Perfect Breast Pump

You wouldn’t try to change a flat tire without a jack. Breastfeeding is the same way; you need the right tools to succeed.
Having the best breast pump by your side turns a chore into a manageable routine. Without one, you risk pain, frustration, and a low supply.
Here is how to select the right gear for your needs:
1. Choose a Quality Pump
Cheap pumps often have weak motors. You do not want to trust your milk supply to a bargain-bin device that feels like a torture instrument. If pumping hurts, you will skip sessions, and your supply will crash.
High-quality electric pumps offer critical features for efficiency:
- Customizable suction: This allows you to mimic a baby’s natural rhythm.
- Massage modes: These stimulate the letdown reflex before expression begins.
- Closed systems: These prevent mold and bacteria from entering the motor.
Your health insurance may cover the cost (1). Check your plan guidelines before buying out of pocket.
2. Electric First, Manual Backup
If you only pump once a week, a manual pump is fine. However, if you plan to express milk daily or return to work, you need the efficiency of an electric model.
I chose a double electric pump immediately because I needed to build a freezer stash.
Efficiency Matters
However, keep a manual pump in your diaper bag. It is perfect for:
- Relieving engorgement: Quick relief when you are away from an outlet.
- Finishing a session: Manual pumps can sometimes drain the breast more fully after an electric session (2).
- Stealth pumping: They are silent and great for late-night sessions.
Most manual breast pumps are affordable, making them a low-risk investment.
Manual pumps are easy to use if you’re pumping at the start of a feeding to help your nipples evert, to soften your areola, or to get the milk flowing.
Editor's Note:
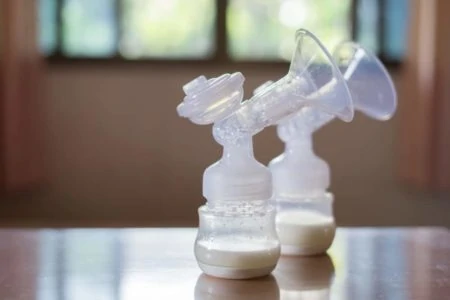
Michelle Roth, BA, IBCLC3. Choose a Double Pump
Single pumps are cheaper, but a double pump saves your sanity. Pumping both breasts simultaneously cuts your time in half and boosts hormone levels.
Remember
Higher prolactin levels signal your body to make more milk (3). It is a simple way to hack your biology.
4. Read the Instructions
It sounds obvious, but many moms skip the manual. I have seen countless forum posts where moms confused the “massage” phase with the “expression” phase.
Improper use leads to sore nipples and poor output. Ensure all valves and membranes are attached correctly; even a tiny gap can destroy suction power.
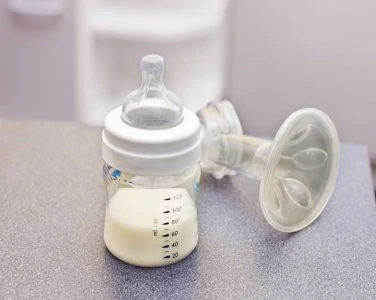
5. Size Your Flanges Correctly
Breast shields, or flanges, are the plastic funnels that fit over your breast. Using the wrong size is the number one cause of pumping pain.
Size Matters
Here is how to check your fit:
- Too Small: The nipple rubs against the tunnel sides, causing friction burns and blocked ducts.
- Too Large: The areola is pulled into the tunnel, causing swelling and poor drainage.
- Just Right: The nipple moves freely in the tunnel with a little space around it (4).

Measure your nipples before you pump. Measuring immediately after a session can result in buying a size too big because of temporary swelling.

6. Switch Pumps If Needed
Sometimes, a pump just doesn’t work for your body.
If you have tried different flange sizes and settings but still get little output, the motor might not be strong enough for you. I loved my first pump until the motor faded after three months. Switching to a stronger unit instantly increased my yield.
#Pumping Goals

Success is 50% physical and 50% mental.
Pumping is hard work. You will need to be your own cheerleader to get through the 3 a.m. sessions.
Here is how to stay motivated:
7. Set Realistic Expectations
Social media can be misleading. Seeing photos of freezers stocked with thousands of ounces is not the norm for everyone.
Managing Expectations
Milk production builds slowly. It starts with drops of colostrum and increases to about 30 ounces per day by one month. If you are also nursing, you will pump less because the baby is taking the rest.
It’s also unrealistic to imagine getting 8 ounces at a time. When a baby is feeding 10 times a day at one month, he’s probably getting about 3 ounces per feeding. So, this would be a more reasonable amount to pump at one time.
Editor's Note:
Michelle Roth, BA, IBCLC8. Know Your Body
Certain factors can tank your supply overnight. Being aware of them helps you troubleshoot.
Common supply killers include:
- Medical issues: Thyroid imbalances or retained placenta.
- Medications: Certain antihistamines and decongestants.
- Lifestyle: Hormonal birth control, stress, or skipping feeds.
9. Relax to Let Down
Stress inhibits oxytocin, the hormone required for the “letdown” reflex that releases milk. If you are tense, the milk stays stuck.
Try these relaxation techniques:
- Distraction: Watch a funny show or read a book.
- Environment: Create a comfortable pumping station with snacks and water.
- Comfort: Use warm compresses or listen to soothing music.
I used to watch sitcoms. Laughing distracted me enough that the bottle filled up before I realized it.
10. Commit to the Process
Decide now that you will power through the hard days.
Remember
If you struggle despite your best efforts, consult an International Board Certified Lactation Consultant (IBCLC). They can identify issues like tongue ties or flange fit problems that you might miss.
How to Keep The Breast Milk Flowing
To avoid the dreaded formula supplement, you need a strategy.
Follow these rules to maximize production:
11. Hydrate and Sleep
You cannot pour from an empty cup. You need fuel to make fuel.

Breastfeeding moms need significantly more water than the average person, aim for about 13 cups of fluid daily (5).
Rest is equally vital, though elusive with a newborn. Sleep deprivation increases cortisol, which can hurt supply.

If you can’t get a full night’s sleep, prioritize naps. I slept in on weekends whenever my partner could take the morning shift, which helped reset my body.
12. Stick to a Schedule
Spontaneity is great for dates, but terrible for lactation. To exclusively pump, you must be disciplined.
Routine Is Key
Here is a sample schedule to guide you through the first six months.
First Two Weeks
- Frequency: Pump every 2 hours during the day.
- Duration: 20 minutes per session.
- Nighttime: Pump every time the baby wakes to eat.
Weeks 2 to 6
- Frequency: Continue every 2 hours while awake.
- Nighttime: Do not go longer than 4 hours without pumping, even if the baby sleeps.
Weeks 6 to 12
- Frequency: Pump every 3 hours during the day.
- Duration: 20 minutes.
- Nighttime: Pump every 4 to 6 hours.
Months 3 to 4
- Frequency: Aim for 6 sessions daily.
- Spacing: Every 3 to 3.5 hours (e.g., 6 a.m., 9 a.m., 12 p.m., 3 p.m., 6 p.m., 9:30 p.m.).
- Duration: 15 minutes is usually sufficient now.
Months 4 to 6
- Frequency: Every 4 hours for 15 minutes.
- Nighttime: Try to keep one overnight session to protect supply.
6 Months Onward
- Frequency: Every 4 to 5 hours.
- Nighttime: You can likely drop the overnight pump if your supply is stable.
13. Don’t Skip Sessions
It is tempting to skip a pump when friends visit or when you are tired.
One missed session won’t dry you up instantly, but consistency is fragile. Skipping leads to engorgement, which is painful and signals your body to slow down production.
14. Pump Often, Not Just Longer
Frequency beats duration. It is better to pump for 15 minutes every 3 hours than for 30 minutes every 6 hours.
The Golden Rule
Once your supply is regulated (usually after 12 weeks), you can drop to 15-minute sessions (7). If you are struggling, add more sessions rather than making existing ones longer.
15. Trigger the Letdown
If the milk isn’t flowing, your letdown reflex might be inhibited.
Try these sensory tricks:
- Massage: Gently knead your breasts before pumping.
- Heat: Apply a warm washcloth.
- Visuals: Look at photos or videos of your baby.
- Scent: Smell a piece of your baby’s worn clothing.
16. The Magic Morning Hours
Prolactin levels are highest in the early morning. This is when your yield will be the biggest.
Pumping between 1 a.m. and 5 a.m. is difficult, but it is the most effective way to signal your body to make more milk (8).
17. Maintain Your Gear
A drop in supply is often a mechanical issue, not a biological one. Membranes and valves wear out over time, losing suction power.
Breast Pump Maintenance Checklist
- Sterilize: Clean parts regularly to prevent bacterial growth (9).
- Inspect: Check silicone parts for tears or stretching monthly.
- Replace: Swap out valves and membranes every 2-3 months if you pump exclusively.
18. Helpful Tools
Invest in items that make the process comfortable.
- Nursing pillows: These support your back and arms.
- Cleaning kits: Quick wipes are great for on-the-go sanitation.
- Nipple cream: Essential for preventing friction and cracking.
- Hands-free pumps: Devices like the Medela Freestyle allow you to move around.
- Pumping bras: These hold the flanges for you so you can work or eat.
- Thermal packs: Warmth stimulates flow; cold relieves pain after pumping.
Advanced Strategies For Maximum Output

If you are doing the basics and still coming up short, it is time for the advanced hacks.
19. The “Fridge Hack”
Washing pump parts eight times a day is exhausting.
Life Saver
Note: The CDC recommends washing parts after every use for optimal safety, especially for preemies or immunocompromised infants. Use this hack at your own discretion.
20. Use Hands-On Pumping
Don’t just let the pump do the work. “Hands-on pumping”, massaging and compressing your breasts while the pump is running, can increase output by up to 48%.
Use your hands to gently squeeze firm areas of the breast to help empty the ducts.
21. Aim for Multiple Letdowns
You aren’t limited to one release of milk per session.
When the flow slows down, switch your pump back to “massage mode” (the fast, light suction setting) for two minutes. This can trigger a second or even third letdown, yielding high-fat hindmilk.
22. Pump While Nursing
If your baby nurses on one side, put a pump or a silicone milk catcher (like a Haakaa) on the other.
The baby stimulates the letdown reflex far better than a machine, meaning you will get free milk from the other side with zero extra effort. A hands-free bra makes this much easier.
23. Adjust as You Go
Your schedule isn’t set in stone. If you notice your supply dipping, add a “power hour” back in. If you are running out of freezer space, drop a session.
When pumping at work, block off time on your calendar so meetings don’t encroach on your supply.
24. Power Pumping
Power pumping mimics a baby’s cluster feeding during a growth spurt. It sends a loud signal to your body to produce more.
How Power Pumping Works
- Pump: 20 minutes.
- Rest: 10 minutes.
- Pump: 10 minutes.
- Rest: 10 minutes.
- Pump: 10 minutes.
Do this once a day for 3-4 days to see results.

25. Galactagogues (Milk-Boosting Foods)
While no food is a magic cure, many moms swear by lactogenic ingredients (10).
Popular options include:
- Oats: A bowl of oatmeal is a standard breakfast for pumping moms.
- Brewer’s Yeast: Often added to lactation cookies.
- Flaxseed: Great for smoothies.
- Mother’s Milk Tea: Contains herbs like fenugreek and fennel.
Remember, cookies don’t replace water. Hydration is still the most important factor.
“Lactation cookies” use many of these same ingredients – just be sure you’re not eating too many and adding excess calories to your diet.
Editor's Note:
Michelle Roth, BA, IBCLC
26. Hand Express After Pumping
Machines are great, but hands are better at getting the last drops.
Hand expressing for just a few minutes after you turn the pump off can harvest the fatty hindmilk that clings to the ducts. This tells your body that the “order” was fulfilled and it needs to restock.
27. The “Top-Off” Pump
Pump 60 minutes after you nurse the baby. The baby has eaten, and your breasts have started to refill, but they aren’t full yet.
This “top-off” session usually yields smaller amounts, but it keeps the milk moving without stealing the baby’s next meal.
28. Clear Clogs Immediately
A clogged duct feels like a painful lump and acts like a dam, stopping flow.
If you feel a clog, attack it immediately with heat, vibration (an electric toothbrush works wonders), and frequent pumping. Unresolved clogs can lower supply and lead to mastitis (11).
29. Shower Power
Moist heat dilates milk ducts. If you are engorged or having trouble letting down, hop in a hot shower.
Pro Tip
30. Lean Forward
Gravity helps. Leaning forward slightly ensures milk flows into the bottle rather than pooling in the flange tunnel, which can cause leaks and lost milk.
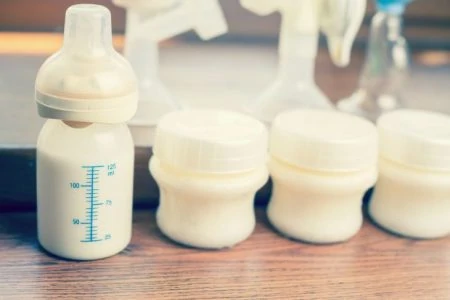
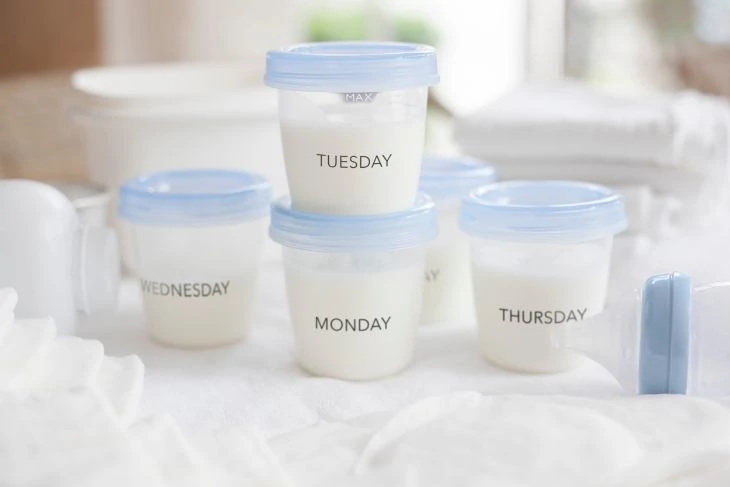
Keeping Your Milk Stored Properly

Pumping is too much work to let the milk go to waste due to improper storage.
Follow these rules to keep your “liquid gold” safe:
31. Safety Guidelines
Fresh milk is surprisingly resilient.
- Room Temperature: Safe for 4 hours.
- Refrigerator: Safe for 4 days.
- Freezer: Best within 6 months, safe up to 12 months (12).
Label every bag with the date. When thawing, use the “first in, first out” method.
32. Choose the Right Containers
Glass or BPA-free plastic bottles are great for the fridge. For the freezer, use specific breast milk storage bags.
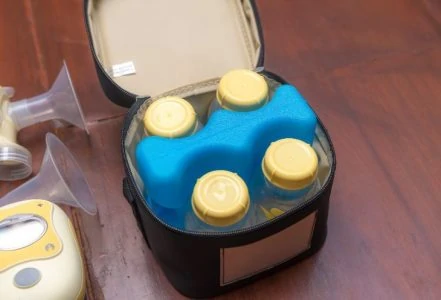
Standard kitchen zipper bags are not thick enough and may leak or cause freezer burn (13).
33. Freezing Tips
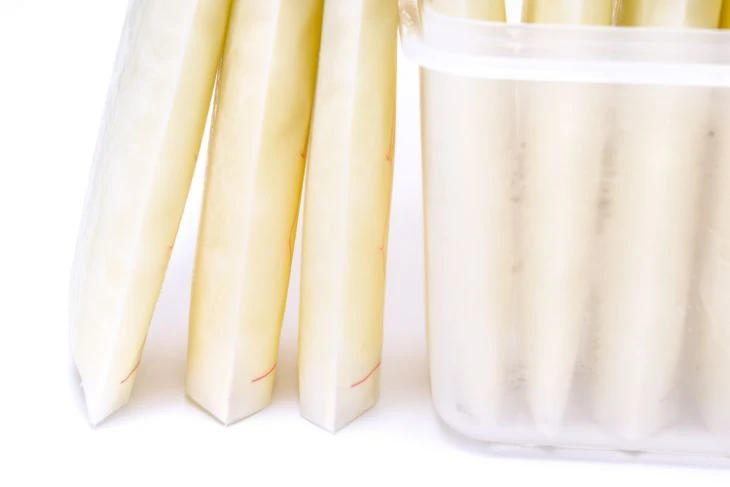
- Leave Headroom: Liquid expands when frozen. Leave an inch of space at the top of the bag to prevent bursting.
- Freeze Flat: Lay bags flat on a cookie sheet to freeze. They become thin “bricks” that stack easily, saving massive amounts of space.
- Deep Freeze: Store milk in the back of the freezer, not the door, to avoid temperature fluctuations.
- Small Batches: Freeze in 2 to 4-ounce portions. It is heartbreaking to thaw 8 ounces when the baby only wants 3.
FAQs

Pumping is a labor of love, emphasis on the labor.
It takes time, patience, and a lot of washing up. But seeing those bottles fill up and knowing you are nourishing your baby makes every late-night session worth it.
Start with the basics: get a good pump, check your flange size, and hydrate. If you are struggling, try the advanced hacks like power pumping or hands-on massage. You have got this.

Why Don’t I Get Much Milk When I Pump?
Low output is often due to using the wrong flange size or a pump with a weak motor. If the flange doesn’t fit, it compresses ducts rather than draining them. Stress and dehydration also play huge roles; if you are tense, your letdown reflex won’t trigger.

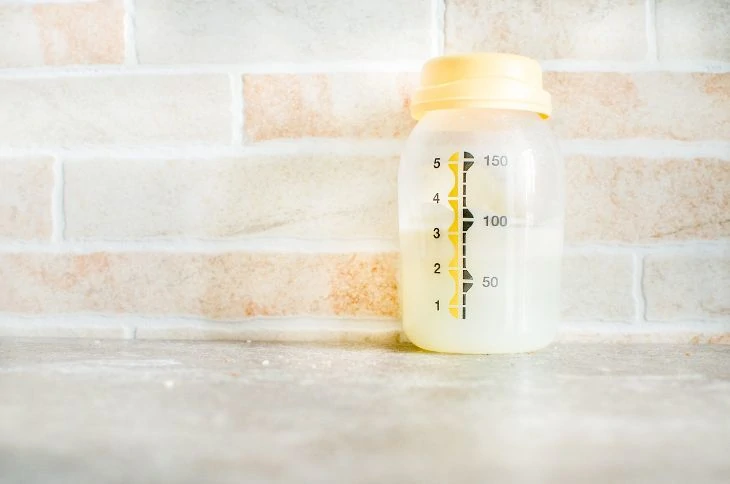
Is It Normal to Only Pump 2 Oz?
Yes, it is completely normal. The average combined output for both breasts is often between 2 to 4 ounces per session. Social media often shows “over-suppliers,” but pumping 2 ounces means you are right on track.

Will Pumping Every 2 Hours Increase Milk Supply?
Yes. Milk production works on supply and demand. By emptying your breasts every 2 hours, you signal your body that the “baby” is hungry, prompting it to ramp up production to meet that demand.

Should You Still Pump Even if No Milk is Coming Out?
Yes, pump for a few minutes past the last drop. This “dry pumping” stimulates the nerves and tells your body, “We needed more milk than was available.” It is a key strategy for increasing future supply.

Do You Still Burn Calories When Pumping Breast Milk?
Yes. Producing breast milk burns roughly 400 to 500 calories a day, regardless of whether the milk is nursed or pumped. Ensure you are eating nutrient-dense snacks to keep your energy up.
How Long Does It Take for Breasts to Refill?
Breasts are never truly “empty” as they produce milk continuously, but the flow slows down after a feed. It typically takes about an hour for your breasts to feel “full” again, but the rate of synthesis is fastest immediately after you have emptied them.
Why Does One Breast Produce Less Milk?
Having a “slacker boob” is nearly universal. It is normal for one breast to have more milk ducts or respond better to the pump than the other. Always pump both sides, but don’t stress if the output is uneven.