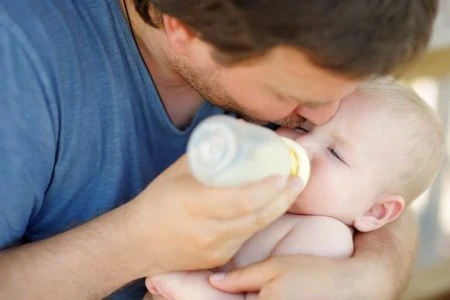
Baby bottles come with a surprising amount of gear. Between the drying racks, bottle brushes, sterilizers, and warmers, your counter space can disappear fast. If you have older kids, you are likely juggling sippy cups and water bottles, too.
It is no wonder your kitchen cabinets feel like a disaster zone.
But don’t worry. We consulted organization pros to create a simple, stress-free plan. This guide will help you reclaim your kitchen and keep those baby bottles under control.
Key Takeaways
- Create specific zones: Designate distinct areas in your kitchen for washing, drying, sterilizing, and storage.
- Sort before you shop: Do not buy bins or organizers until you know exactly how many items you need to store.
- Stick to one system: Using a single brand of bottles or cups ensures lids and parts are interchangeable.
- Safety first: If reusing bottles for a new baby, inspect them for scratches and ensure they are BPA-free.
Prep Work: Before You Organize
If you have ever tried to organize a drawer and ended up with a bigger mess than you started with, you likely skipped the prep work.
You cannot just start pulling everything out without a game plan. Organizing is a lot like laundry; it has to get a little messy before it gets clean.
If you need visual inspiration for your kitchen, this video shows some excellent bottle organization hacks and pantry layouts.
Now that you are inspired, here are the four steps to take before you buy a single bin:
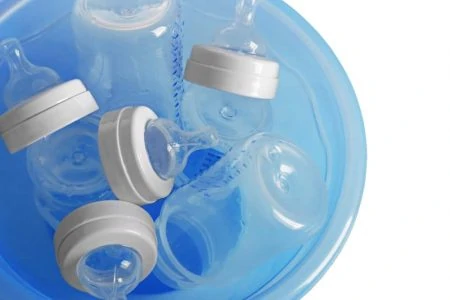
- Designate your zones: You need more than just cupboard space. Set up specific zones for washing, sterilizing, and storing. Baby bottles have many small parts that will take over your counter without a designated drying spot. Invest in a solid bottle drying rack and keep it right next to your sterilizer.
- Sort, then store: Avoid wasting money on storage products you do not need. Do not buy organizers until you have taken inventory of exactly what you have.
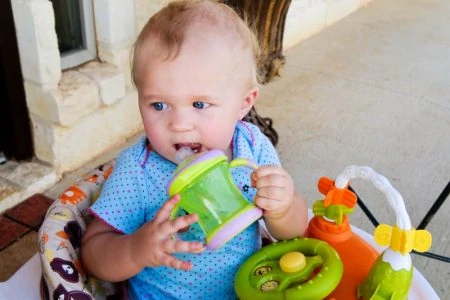
- Assess your real needs: Be realistic about usage. For bottle-fed babies, keep enough bottles to limit sterilizing to once a day. For toddlers, keep enough sippy cups for two days max. Kids usually stick to their few favorites anyway, so the rest just clutter your space.
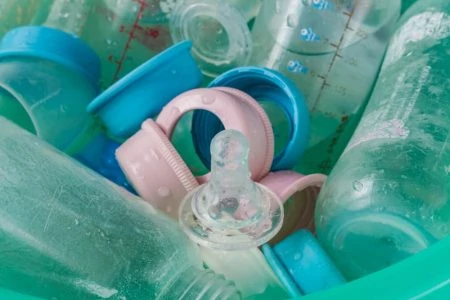
- Purge the excess: To tame the chaos, you have to let things go. Toss the mismatched lids, the chewed-up straws, and the “just in case” items. If you haven’t used it in three months, you probably never will.
If you plan to have more children, you might want to save your current stash. However, you must inspect them carefully.
Remember
Old nipples degrade over time. This breakdown changes the flow rate of formula or breast milk, which can make feeding difficult or frustrating for a newborn (1).
How to Organize Baby Bottles and Sippy Cups
Once you have purged the unnecessary clutter and gathered your keepers, you are ready to build a system that works.
1. Group Like with Like
If you have children of different ages, you are likely managing a mix of bottles, transition cups, and spoutless cups. The first rule of organization is categorization.
When I did this in my own kitchen, I spread everything out on the dining room table. Seeing the full “collection” at a glance made it easy to match lids to cups and group them by type. Once categorized, you can visualize exactly how much space each group requires.
Pro Tip
Having uniform sets is infinitely easier to stack and store than a mismatched mountain of plastic.
2. Choose Your Storage Solutions
Now that you have your groups, you can pick the right containers. You do not need expensive gear; dollar store bins often work perfectly.
If your cabinet space is tight, look for vertical solutions. Rolling carts with drawers work wonders for cups and bottles. For those tiny, easy-to-lose pieces like valves, nipples, and straws, try small drawer units.
Take a hard look at your kitchen layout and decide which “zone” works best for these containers.
Life Saver
3. Store Your Items
This is the satisfying part. Place your bins and organizers in their new homes.
Remember
One exception is sterilized baby bottles. If you have the counter space, it is often easier to leave clean bottles in the bottle sterilizer or on the drying rack until you need them.
4. Label Everything
Labels are not just for aesthetics; they are functional. You can use masking tape, chalk markers, or a label maker.
Label each bin by its contents (e.g., “Nipples Level 1,” “Straws,” “Lids”). Face the labels outward so they are readable at a glance.
The biggest benefit of labeling? It allows other people to help you. Partners, grandparents, and babysitters can find what they need, and more importantly, put it back in the right spot, without wrecking your hard work.
FAQs

Do Baby Bottles Have to be Completely Dry Before Use?
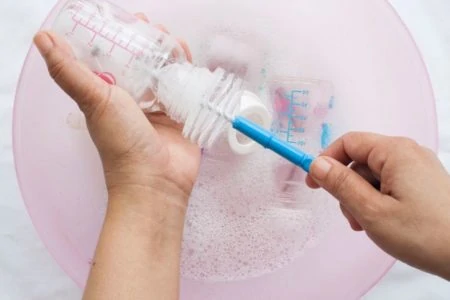
Yes, bottles must be bone dry before you assemble or store them. Moisture is a breeding ground for bacteria.
If your bottles are not air-drying fast enough, use a clean paper towel or cloth to dry them manually. Pay close attention to the screw rings and crevices where water likes to hide.

Can You Premake Bottles and Put Them In the Fridge?
Yes, you can pre-make bottles, but there is a time limit. Prepared formula bottles can be stored in the refrigerator for up to 24 hours. Once you take them out, they expire after 2 hours at room temperature. Always check the label on your specific formula brand to be sure.

Can You Store Bottles With Nipples Attached?
No, it is best to store bottles and nipples separately. Storing them fully assembled can trap moisture inside the nipple or ring, creating an environment for bacteria to grow. Keep the parts in separate, open bins to ensure plenty of airflow.
How Do I Organize Small Bottle Parts?
Small parts like anti-colic vents, valves, and travel discs are notorious for getting lost. We recommend using a dishwasher basket for washing them. For storage, use small, clear drawer organizers or plastic tackle boxes. This keeps tiny pieces separated and easy to grab when you are building a bottle one-handed.
How Long Do Empty Baby Bottles Stay Sterile?
Empty bottles stay sterile for 24 hours after you wash and sterilize them, provided you keep them assembled or in a sterile container. If a bottle has been sitting out on the drying rack for two days, it is safest to wash and sterilize it again before use.

Why Do Baby Bottles Turn Yellow?
Bottles usually turn yellow due to fat deposits or heating. Breast milk and formula are rich in fats that can stain clear plastics over time. Frequent heating and sterilizing can also discolor the material. While it looks unsightly, it does not strictly mean the bottle is unsafe, but it might be a sign the plastic is degrading.

What Is the Shelf Life of Baby Bottles?
Once a bottle enters your daily rotation, expect it to last about six months. Plastic breaks down over time from scrubbing and heating. If you see cracks, chips, or bad odors, toss it immediately. However, unused bottles still in the original packaging can last for years.