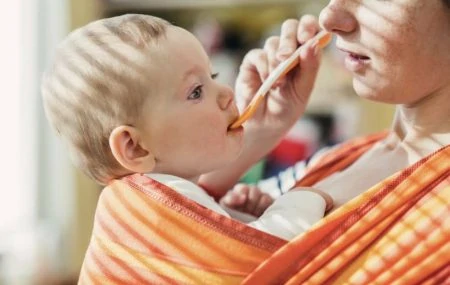
If you have ever tried to fold laundry or drink a hot coffee while holding a newborn, you understand the appeal of a baby wrap. They are the ultimate tool for keeping your little one close while giving you your hands back.
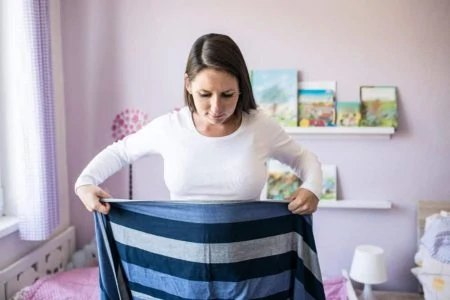
However, staring at a long piece of fabric can feel a bit like looking at an unsolved puzzle. It looks complicated, and you might be worried about doing it wrong.
Don’t worry; we are here to demystify the process. In this guide, we will break down the differences between stretchy and woven wraps, cover essential safety rules every parent needs to know, and walk you through the most popular tying methods step-by-step.
Key Takeaways
- Stretchy Wraps: Best for newborns and beginners due to their forgiving fabric, but they sag as the baby gets heavier (usually around 15-20 lbs).
- Woven Wraps: Offer zero stretch, making them supportive enough for toddlers and back carrying, but they have a steeper learning curve.
- Safety First: Always follow the T.I.C.K.S. guidelines to ensure your baby’s airway is open and their spine is supported.
- Sizing Matters: Woven wraps come in specific sizes (Base Size); getting the right length is crucial for tying knots securely.
What’s the Deal With Baby Wraps?

If you are new to the world of baby carriers, you might wonder why you would choose a long piece of cloth over a structured carrier with buckles.
A baby wrap is simply a long piece of fabric that you tie around your body to hold your baby. Unlike mei tais or ring slings, wraps offer a custom fit every single time. There are no plastic clips to dig into your ribs, and the fabric distributes the baby’s weight evenly across your shoulders and back. They are incredibly versatile, allowing you to carry your child from the newborn stage well into toddlerhood.
Different Kinds of Wraps
The two main contenders in the wrap world are **stretchy wraps** and **woven wraps**. Choosing the right one depends largely on your baby’s age and your patience level for learning knots.
1. Stretchy Wraps
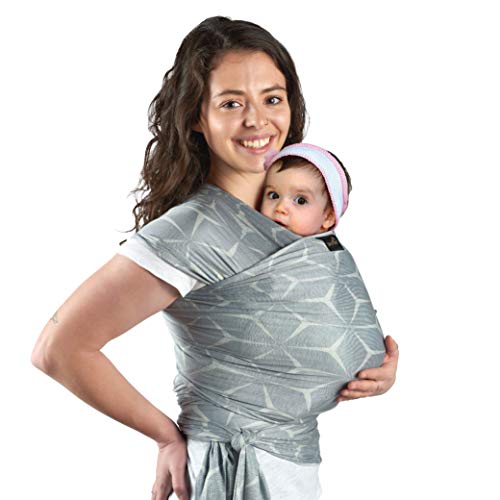
As the name implies, these are made of a jersey-like material (usually a cotton/spandex blend) that stretches. They are widely considered the “gateway” carrier for new parents.

If you are looking for that classic “newborn snuggle” feeling, the **Boba Wrap** is the industry standard. It is incredibly soft, forgiving for beginners, and creates a cozy, womb-like environment that calms fussy babies instantly.
The Pros of Stretchy Wraps
Stretchy wraps are the go-to choice for the “fourth trimester” for several reasons:
- Beginner-friendly: You can tie the wrap to your body before you put the baby in. This “poppable” factor reduces the anxiety of trying to juggle a squirming infant while tying knots.
- Snug and cozy: The elasticity hugs the baby close, mimicking the womb. This is excellent for skin-to-skin contact.
- One size fits all: You generally do not need to measure yourself for a stretchy wrap. The long fabric accommodates most body types and can be shared between parents easily.
The Cons of Stretchy Wraps
While they are great for the first few months, stretchy wraps have limitations.
- Sagging issues: The stretch is a double-edged sword. As your baby gets heavier (usually around 15 pounds), the fabric starts to sag and bounce, putting strain on your back.
- Heat retention: To get a secure fit, you need three layers of fabric over the baby. In the summer, this can get very hot for both of you.
- No back carries: It is generally unsafe to back carry in a stretchy wrap because the fabric can shift too easily, posing a fall risk.
2. Woven Wraps
Woven wraps are made on a loom and have little to no stretch. They come in various blends like cotton, linen, silk, and wool. They are the workhorses of the babywearing world.
For parents who want one carrier to last from birth through the toddler years, the **Hip Baby Wrap** is a fantastic entry point. It is lightweight, breathable, and offers the sturdy support needed as your child grows heavier.
The Pros of Woven Wraps
If you want longevity and versatility, a woven wrap is hard to beat:
- Incredible support: Because the fabric doesn’t stretch, it holds heavy toddlers securely without sagging or hurting your back.
- Versatility: You can do front, hip, and back carries. There are dozens of tying methods to suit your specific needs or comfort.
- Long lifespan: You can use a woven wrap from day one until your child is in preschool (if your back can handle it).
- Breathability: Many woven wraps (especially linen or lightweight cotton) are much cooler than stretchy wraps because they allow for better airflow and require fewer layers for safety.
The Cons of Woven Wraps
The main barrier to entry for woven wraps is the complexity.
- Learning curve: You generally have to wrap the fabric around you while holding the baby. This takes practice and muscle memory to get right.
- Sizing creates confusion: Unlike stretchy wraps, woven wraps come in numbered sizes (Size 2 to Size 8). You need to know your “Base Size” to do standard carries.
- Break-in period: Some new woven wraps can feel stiff or “crunchy” and need to be washed, ironed, and used repeatedly to become soft and floppy.
Safety: The T.I.C.K.S. Rule
Babywearing is safe when done correctly, but it does carry risks if the baby’s airway is compromised. The babywearing community relies on the **T.I.C.K.S.** acronym to keep babies safe. Memorize this checklist.
1. Tight
The wrap should be tight enough to hug your baby close to you. Any slack or loose fabric can allow your baby to slump down in the carrier, which can hinder their breathing and pull on your back.
2. In View at All Times
You should always be able to see your baby’s face by simply glancing down. The fabric of the wrap should never close around them so you have to open it to check on them. In a cradle position, your baby should face upwards, not be turned in towards your body.
3. Close Enough to Kiss
Your baby’s head should be as close to your chin as is comfortable. By tipping your head forward, you should be able to kiss your baby on the head or forehead.
4. Keep Chin Off the Chest
Ensure there is always a space of at least one finger width under your baby’s chin. The baby should never be curled so their chin is forced onto their chest, as this can restrict their breathing.
5. Supported Back
In an upright carry, a baby should be held comfortably close to the wearer so their back is supported in its natural curved position and their tummy and chest are against you. If a wrap is too loose, the baby can slump, which can partially close their airway.
Hip Health Matters
How to Use a Stretchy Wrap

Stretchy wraps are forgiving, but getting a secure fit takes a little practice. The golden rule is to tie it **much tighter** than you think you need to. It should fit like a tight swimsuit before you put the baby in.
Stretchy Wrap Tutorials
Here are the three most useful carries for a stretchy wrap.
Safety Check
Troubleshooting Your Stretchy Wrap
Does something feel “off”? Here are quick fixes for common issues.
Stretchy Wrap FAQs
Can I Breastfeed in a Stretchy Wrap?
Yes, you can. Loosen the knot slightly to lower the baby to breast height. You can feed upright or in a cradle hold. However, always return the baby to the correct upright, tight position immediately after feeding. Never let the baby sleep at breast height with a loose wrap, as this is a suffocation hazard.

Can I Face My Baby Outward in a Stretchy Wrap?
No, we do not recommend facing out in a stretchy wrap. The stretchy fabric cannot support the baby’s weight properly in this position, forcing their spine to straighten and their legs to dangle. This puts pressure on the baby’s hips and your lower back. If your baby wants to see the world, try a hip carry instead.

When Should I Stop Using a Stretchy Wrap?
While boxes often say “up to 35 lbs,” most parents find stretchy wraps uncomfortable once the baby hits 15 to 20 pounds. At this weight, the fabric bounces with every step. If your shoulders ache after 20 minutes, or if you have to constantly adjust the wrap, it is time to switch to a woven wrap or structured carrier.
How to Use a Woven Wrap
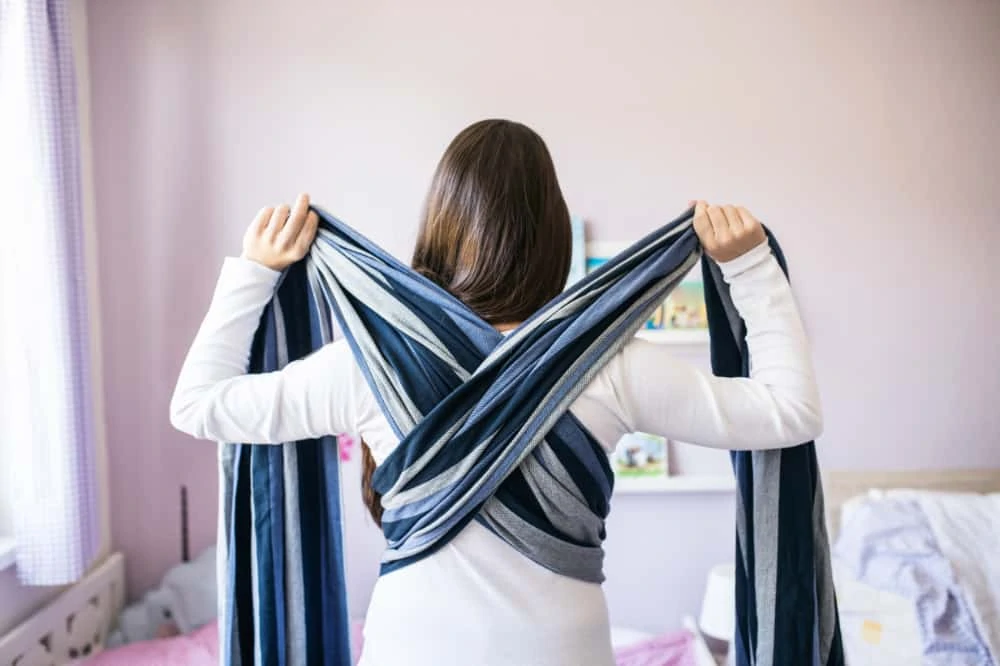
Woven wraps require a bit more skill because you are wrapping around the baby, not pre-tying it. However, the payoff is a custom, weightless feel that can carry a 30-pound toddler with ease.
Woven Wrap Tutorials
Here are the essential carries to master with your woven wrap.
Troubleshooting Your Woven Wrap
Woven Wrap FAQs

When Can I Back Carry in a Woven Wrap?
Experienced wrappers back carry safely with newborns, but it requires high skill. For beginners, we recommend waiting until your baby has solid head and neck control (around 4-6 months). Always practice over a bed or with a spotter until you are confident.

Can Plus-Size Moms Use Woven Wraps?
Absolutely. Woven wraps are the most size-inclusive carrier option available. If a standard Size 6 feels short, simply buy a Size 7 or 8. If you can’t find a long wrap, you can use a shorter wrap to do simple carries (like a Rucksack carry) that require less fabric length.

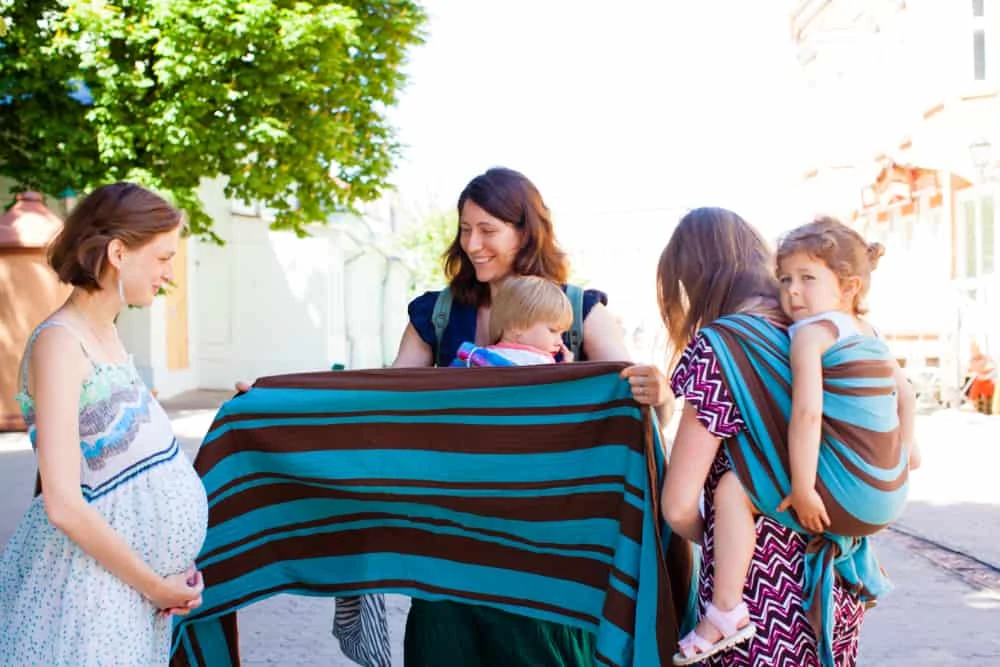
Can I Wrap While Pregnant?
Yes! Many moms wrap their toddlers while pregnant with a second child. Woven wraps are great for this because you can choose finishes that do not put a knot on your belly. A “Tibetan finish” ties off at your chest, keeping your baby bump completely pressure-free.
How Many Layers Do You Need for a Newborn?
This depends on the carry. A Front Wrap Cross Carry (FWCC) has three layers (the cross passes and the horizontal pass), which is very warm. For summer, you might prefer a Kangaroo carry, which only has one layer of fabric over the baby, allowing for much better airflow.
How Do I Wash a Woven Wrap?
Always check the label. 100% cotton wraps are usually machine washable on a gentle cycle. However, blends with wool or silk often require hand washing. Avoid fabric softeners (which make the fabric slippery) and optical brighteners. Braiding your wrap before washing can prevent it from getting tangled in the machine.
Is It Safe for the Baby to Sleep in the Wrap?
Yes, it is safe for a baby to sleep in a wrap as long as their airway remains clear and they are upright. Monitor them closely to ensure their chin doesn’t drop to their chest. If they are in a back carry, check them frequently using a mirror or your phone’s selfie camera.
In Conclusion
Baby wrapping is a skill, just like learning to ride a bike or braid hair. The first few times you try it, you might feel like you are tangling yourself in a mummy costume. That is completely normal!Start with a well-fed, rested baby (and a well-fed, rested parent). Practice in front of a mirror, and don’t be afraid to untie it and start over. Once you get that perfect “weightless” feeling of a properly tightened wrap, you will wonder how you ever parented without one.
You’ve got this, mama.