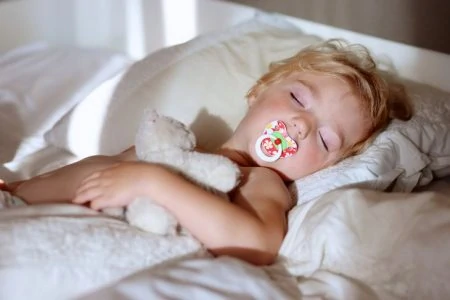
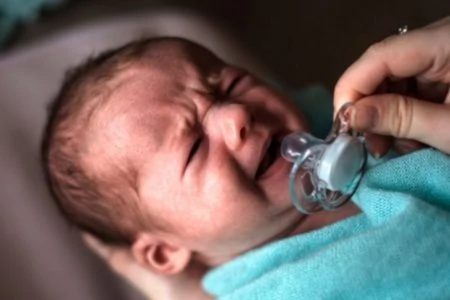
We’ve all been there. While we want to protect our little ones from germs, we also need that screaming to stop.
We researched the most effective ways to sterilize pacifiers, from old-school boiling to modern UV gadgets. Here is how to keep that binky clean without losing your mind.
Key Takeaways
- Boiling water is the gold standard for sterilization, but cooling time is essential.
- Cleaning a pacifier with your own saliva is controversial but may actually boost immunity.
- Dishwashers save time, but you must use the top rack to avoid melting the nipple.
- Always squeeze trapped water out of the nipple after washing to prevent mold growth.
Different Ways to Clean a Pacifier
There is more than one way to skin a cat, and there are definitely multiple ways to de-germ a pacifier. Some methods are quick fixes for emergencies, while others are deep-clean solutions. Let’s weigh the pros and cons.
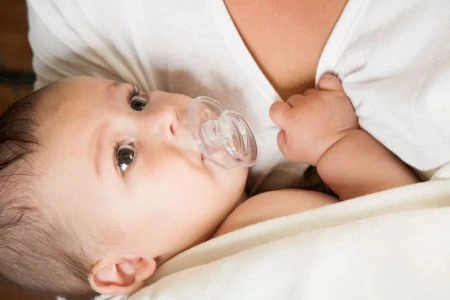
The “Parent Spit” Method
We’ve all seen it (or done it). A pacifier drops, and a parent pops it into their own mouth for a quick “cleaning” before popping it back to the baby.
Ideally, we wouldn’t recommend this. Adult mouths are full of bacteria that can cause cavities or pass on illnesses like herpes (cold sores). However, science threw us a curveball.
A study published in Pediatrics suggested that children whose parents cleaned pacifiers with their own mouths had lower rates of asthma and eczema (1). The theory is that transferring microbes from parent to child might “train” the baby’s immune system.
The Verdict: If you are healthy and desperate, it’s an option. If you have a cold, sore throat, or open sores, keep your mouth to yourself.

Rinsing With Water
Running a dropped binky under the tap is the standard “five-second rule” response. It’s great for knocking off visible dirt, lint, or dog hair.
However, water alone does not kill bacteria. Even if it looks clean, microorganisms like staph or strep can linger (2). Treat a quick rinse as a temporary fix, not a sterilization method.
The Boiling Water Method
This is the classic, foolproof method. Boiling kills practically everything. It requires no fancy equipment, just a pot and water. It is the best method for the very first sterilization of a new pacifier.
Safety Warning
Dishwasher Sterilizing
If you hate scrubbing, the dishwasher is your best friend. The high heat and detergent do a solid job of killing germs.
However, there are two caveats:
- Top Rack Only: The heating element at the bottom of the dishwasher can melt or warp plastic.
- Material Matters: Silicone pacifiers usually handle the dishwasher well. Latex pacifiers break down in high heat and should be hand-washed.
Electric and Microwave Sterilizers
If you want hospital-grade cleanliness, you can invest in dedicated gear.
Electric steam sterilizers sit on your counter and can clean bottles, pump parts, and pacifiers all at once. They are effective but bulky.
For a quicker fix, microwave sterilizers (or sterilizer bags) use steam to zap germs in minutes. The Philips AVENT Microwave Steam Sterilizer is a popular choice because it’s lightweight, fits multiple brands, and is significantly faster than boiling water.
What You’ll Need
You don’t need a laboratory setup to keep things hygienic. You likely have most of these items already.
- Mild dish soap (free of harsh fragrances).
- Clean dedicated brush or sponge.
- Small pot for boiling.
- Clean drying rack or paper towels.
- Ziploc bags or a pacifier case for storage.
How to Clean and Sterilize Your Baby’s Pacifier
Follow this simple routine to ensure your baby isn’t sucking on a bacteria trap.
1. Wash With Soap
Sterilization works best on a surface that is already physically clean. Wash the pacifier with hot water and mild dish soap first.
Avoid using the old kitchen sponge that’s been sitting in the sink for two weeks; it is likely teeming with more germs than the pacifier itself (3). Use your clean hands or a dedicated bottle brush.
2. The “Pull Test” and Inspection
While washing, inspect the pacifier closely. Pull on the nipple in all directions. If you see cracks, tears, or if the rubber feels sticky or tacky, throw it away immediately. A damaged pacifier can break apart and become a choking hazard.
3. Sterilize
Choose your weapon of choice:
- Boiling: Submerge in boiling water for 5 minutes.
- Steam/Microwave: Follow the manufacturer’s specific instructions regarding water levels and time limits.
- Dishwasher: Place on the top rack in a dishwasher basket.
4. Expel Trapped Water (Crucial Step)
Most pacifier nipples are hollow. Water often gets trapped inside during washing. If left there, it can create a breeding ground for mold.
Once the pacifier has cooled, squeeze the nipple firmly to force any remaining water out. Shake it vigorously.
5. Air Dry and Store
Place the pacifiers on a drying rack or a clean towel. Ensure they are totally dry before storing them.
Once dry, store them in a clean plastic bag or a designated pacifier pod inside your diaper bag. This keeps lint and crumbs from sticking to the nipple.
Pacifier Hygiene FAQs

Do I Really Need to Sterilize?
Yes, especially for newborns. Before the first use, you should always sterilize a pacifier to remove manufacturing residues and germs. For babies under 6 months, frequent sterilization is recommended. For older babies, hot soapy water is usually sufficient unless they are sick.

Can I Clean a Pacifier With Baby Wipes?
Generally, no. Most diaper wipes contain lotions or fragrances not meant to be ingested. However, you can buy specific “pacifier wipes” made with food-grade ingredients (like xylitol) for on-the-go cleaning. These are great for emergencies but don’t replace a good wash.

How Often Should Pacifiers Be Sterilized?
For newborns (0-6 months), try to sterilize daily or every other day. Once your baby starts crawling and putting everything in their mouth anyway, you can switch to washing with soap and water, reserving sterilization for when the pacifier drops on a dirty floor or after an illness.

How Often Should Pacifiers Be Replaced?
Replace pacifiers every 4 to 8 weeks, depending on how heavily they are used. Regardless of age, if you notice holes, tears, discoloration, or a stretched nipple, toss it immediately.

What Happens If You Don’t Sterilize Pacifiers?
Unclean pacifiers can harbor yeast (thrush), bacteria, and even mold. This can lead to oral thrush infections, stomach bugs, or re-infection if your child has recently been sick.

When Can You Stop Sterilizing Pacifiers?
Most experts agree you can ease up on daily sterilization once your baby is 6 months old. Their immune system is stronger, and they are likely licking the floor anyway. Regular soap-and-water washing is fine at this stage.
Can I Use Vinegar to Clean a Pacifier?
Yes, vinegar is a natural disinfectant. You can soak the pacifier in a solution of 50% water and 50% white vinegar for a few minutes. Rinse it thoroughly and squeeze water out of the nipple afterward to prevent a lingering vinegar taste.
How Do I Remove Mold From Inside a Pacifier?
If you see dark spots inside the nipple, it is likely mold. Do not try to clean it with bleach or harsh chemicals. It is nearly impossible to remove mold entirely from porous rubber or silicone. The safest option is to throw the pacifier away and buy a new one.